Theme Setup
This section describes how to install a theme on your Ghost site. Themes enable you to customize your web site's appearance. There are two ways to add themes to a Ghost blog.
- From Admin dashboard - This is the easiest and preferred method.
- Upload a theme via FTP.
Add theme from admin dashboard
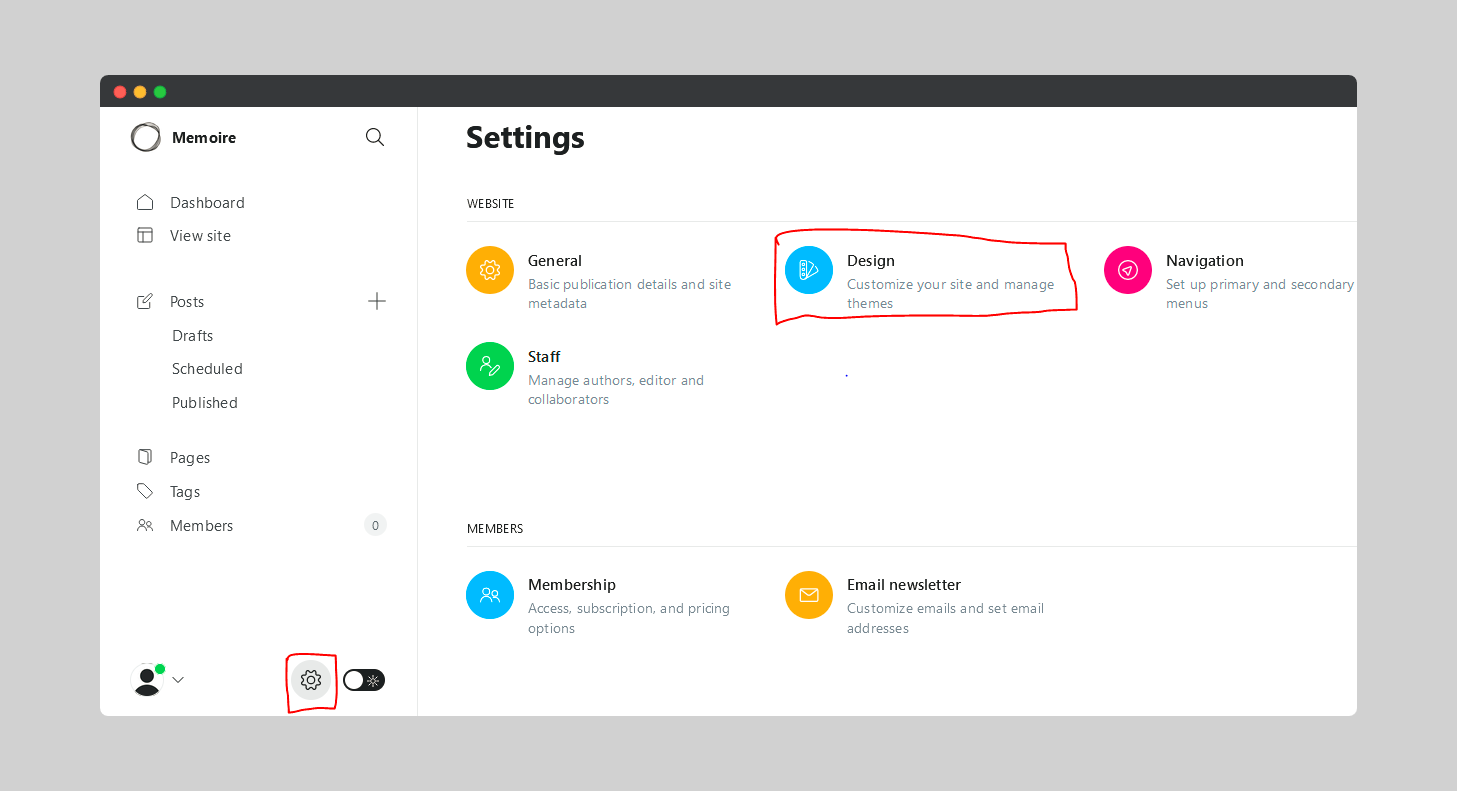
- Login to the admin dashboard of the Ghost blog and navigate to
Settings Icon -> Designand scroll to the bottom of the page. You will see change theme.
- Click on
Upload theme. - Drag and drop the zip file of the theme to the upload area.
- After uploading the theme, click on Activate. This will apply the new theme for the blog.
- To display active theme, click on Advanced.
Installing a Ghost theme
To install a Ghost theme, follow these steps:
- Download the .zip file for the theme.
- Log in to your site using FTP.
- Navigate to
installation_directory/content/themeswhereinstallation_directoryis the directory where Ghost is installed, and then upload the .zip file that you downloaded in step 1. - Log in to your site using SSH.
- Type the following command:
cd installation_directory/content/themes
- Type the following command
unzip stories.zip
- Restart Ghost.
- After Ghost restarts, log in to Ghost as the administrator.
- On the top menu bar, click Settings.
- Under General, scroll to the bottom of the page.
- In the Theme list box, the new theme should appear. Select the theme, and then click Save.
- Visit your site's home page. It should load using the new theme.